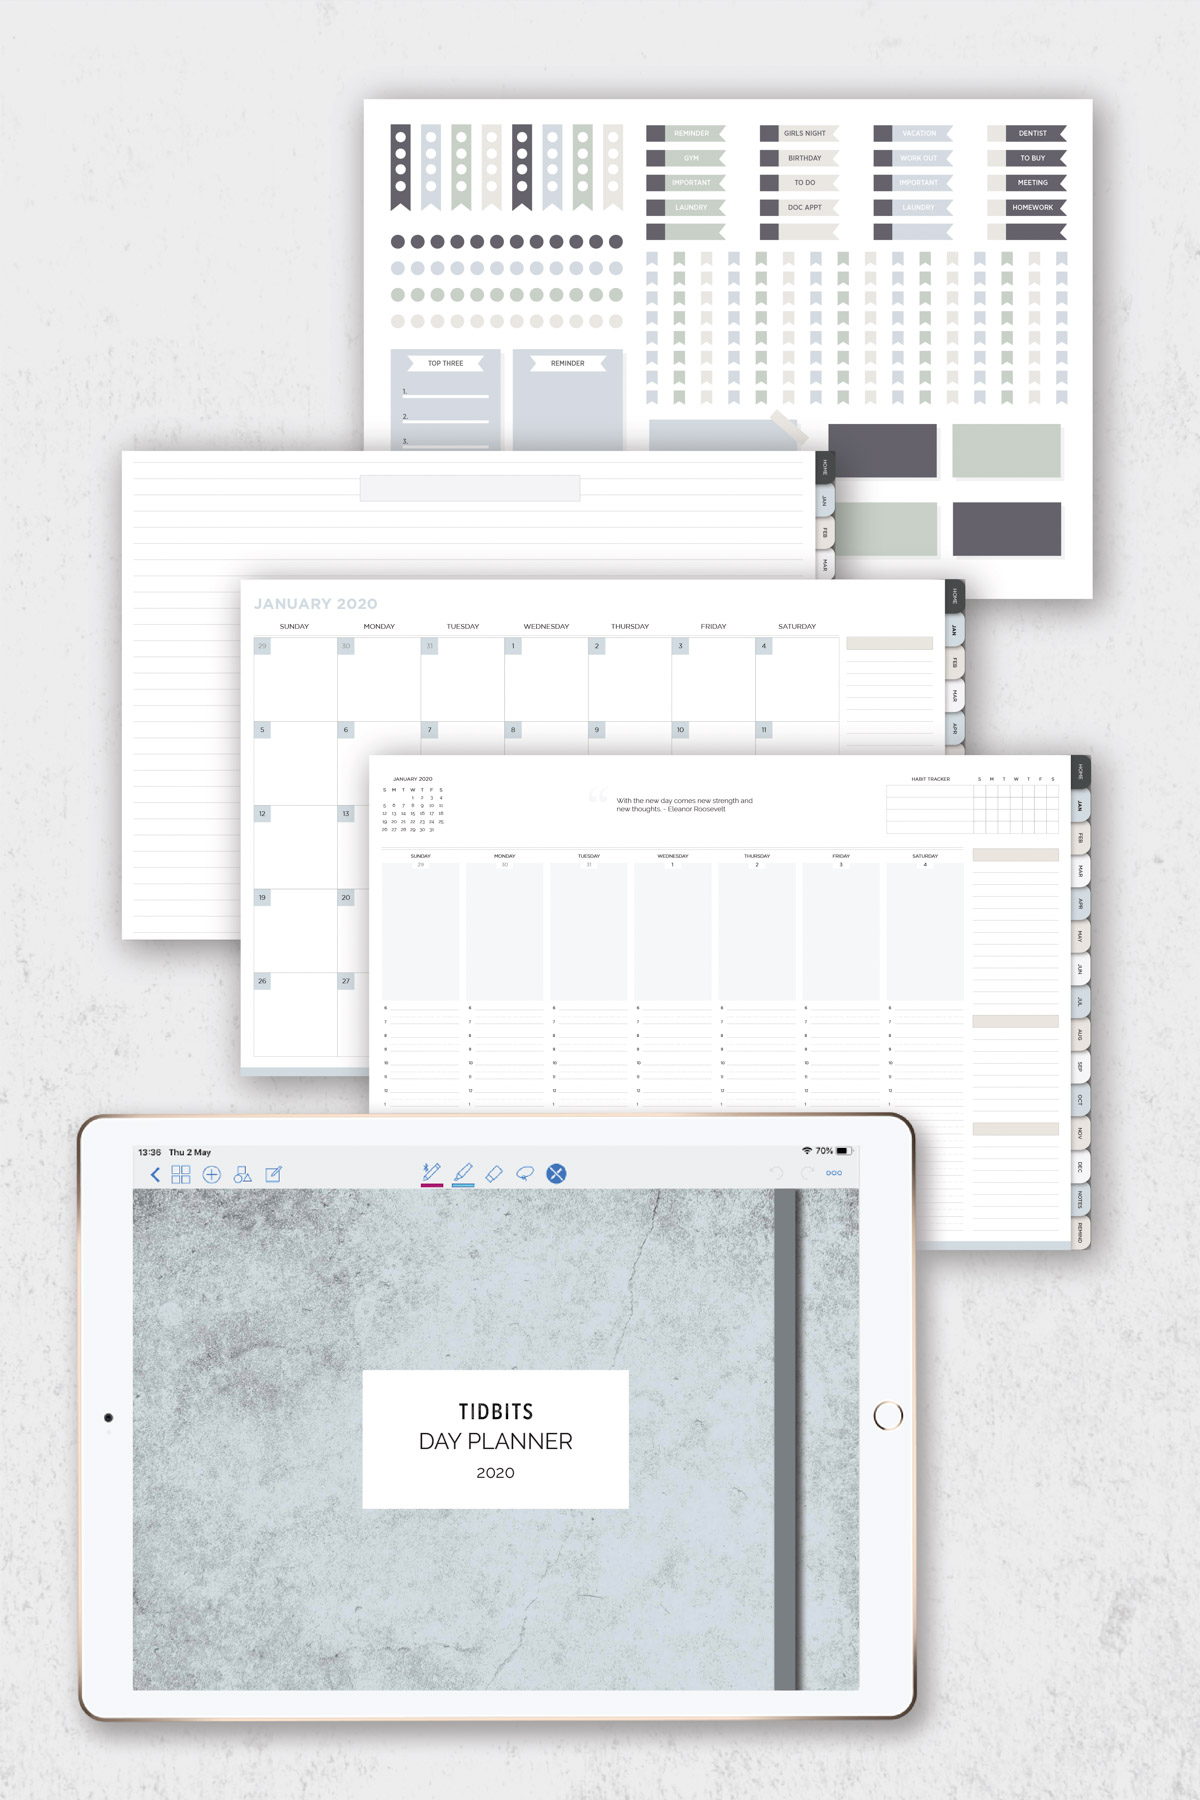
When you purchase any planner or notebook from me, you will receive a pack of customizable digital stickers. Now, lest you think you don’t need these, you might want to see how much fun they can be and how they can help organize your lists and to-do’s.
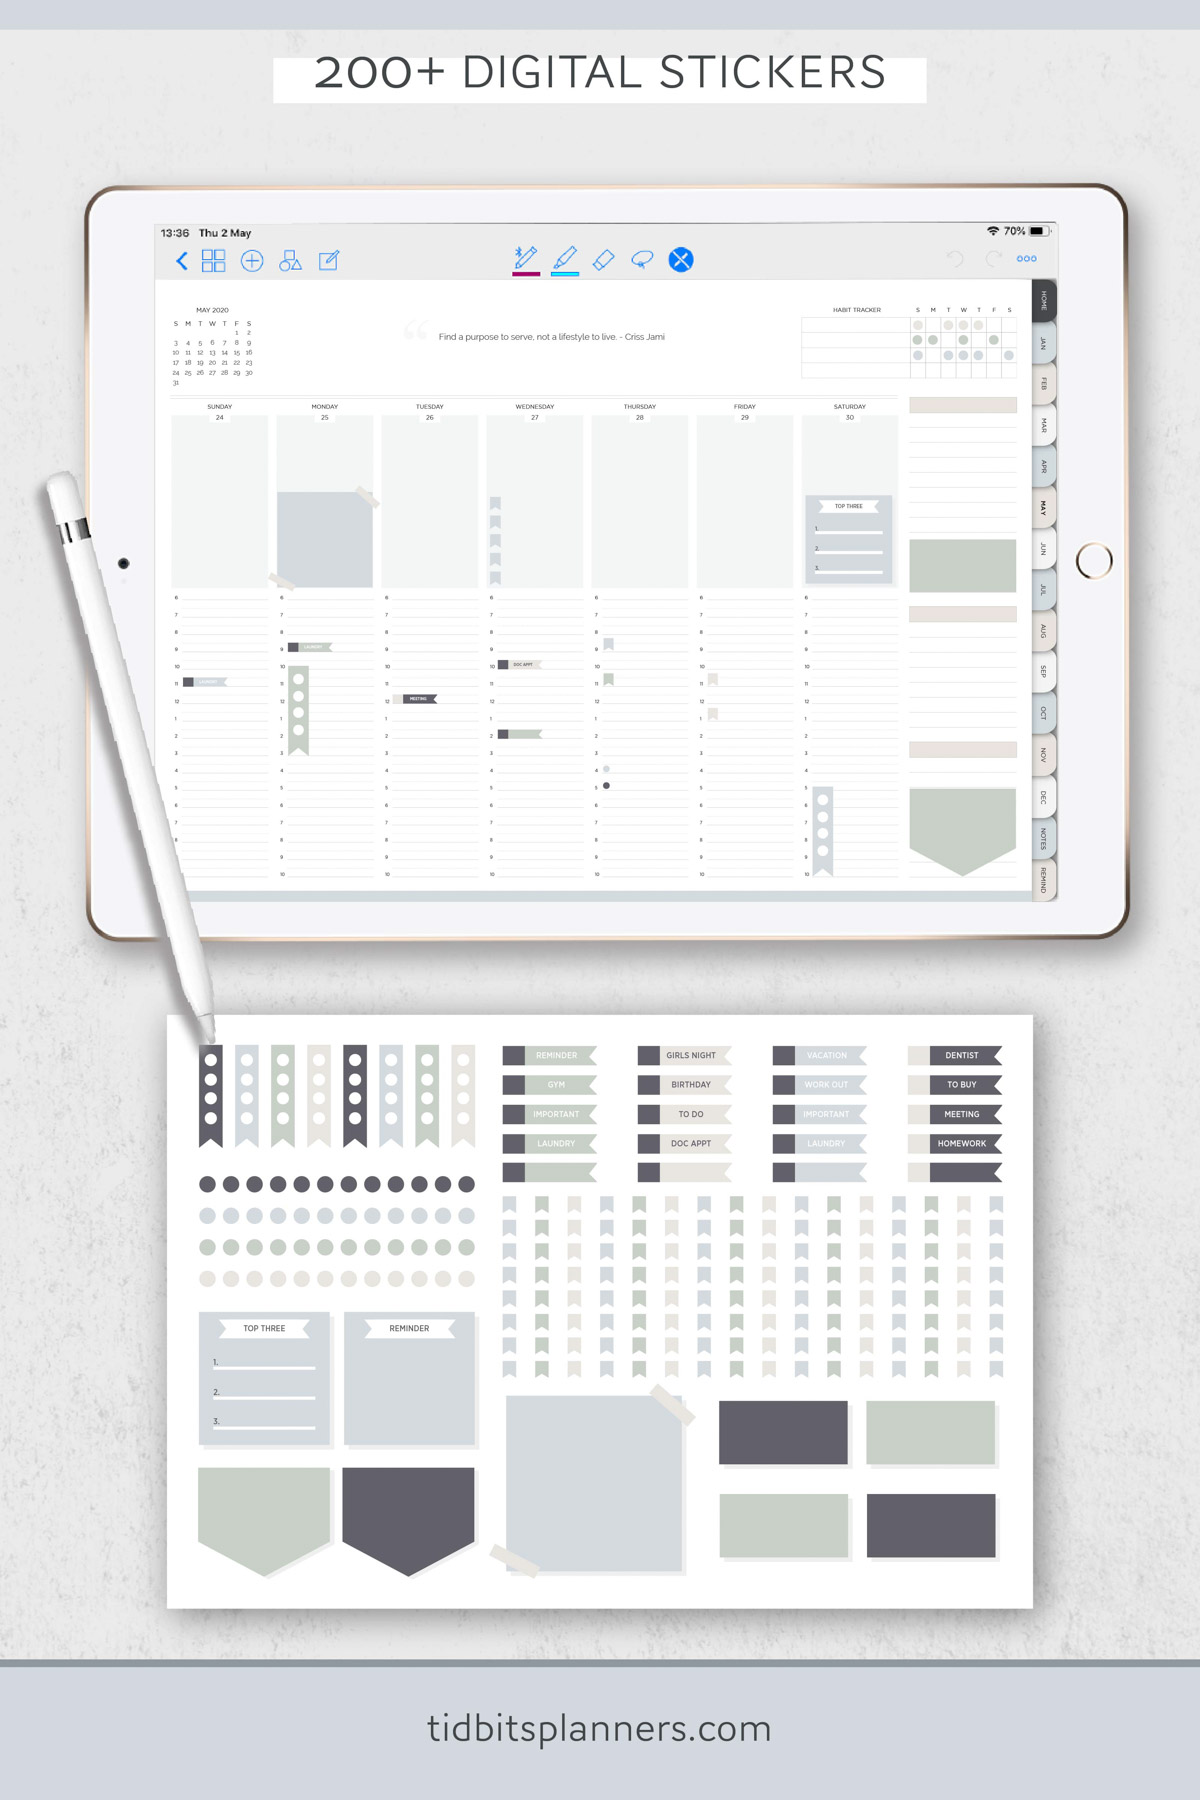
My stickers are very basic and classic, and can be used over and over and over again.

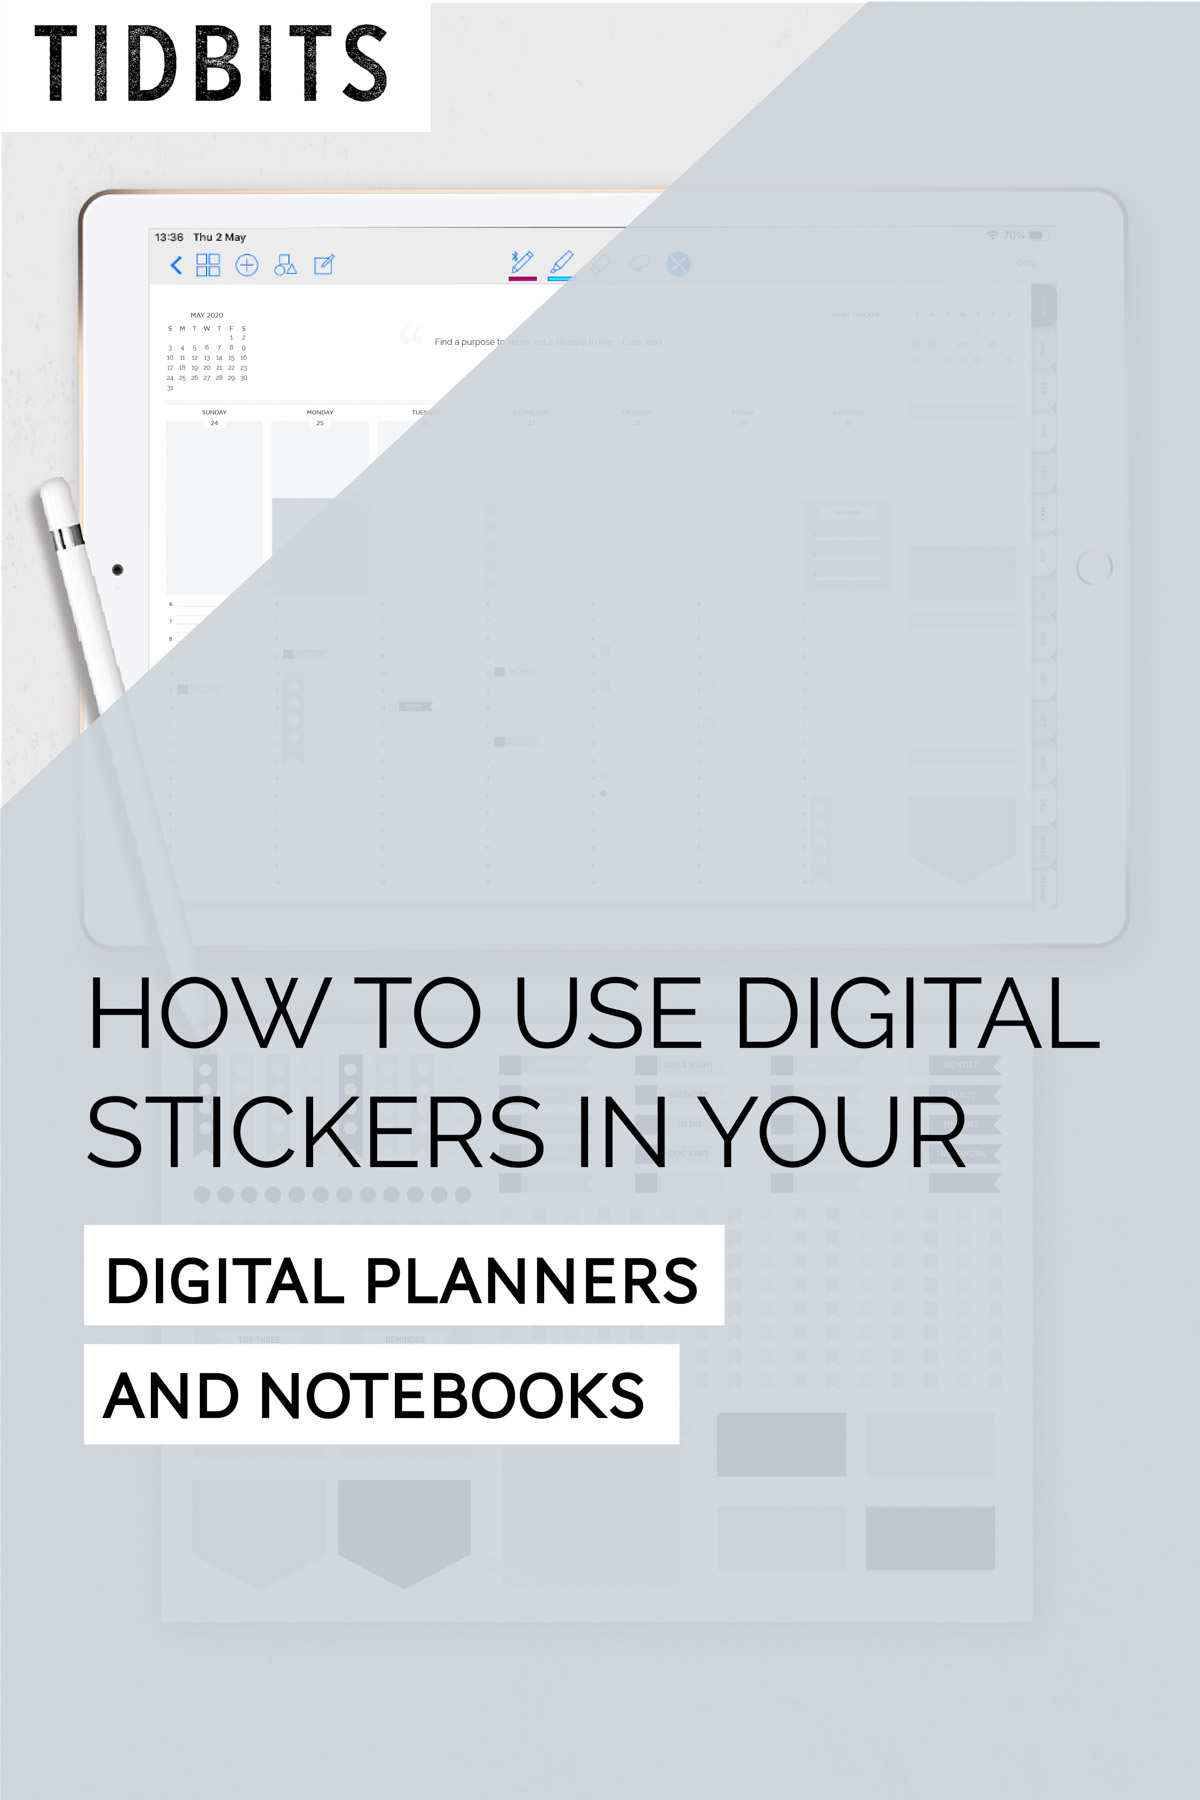
Let me share the best way to upload and insert stickers onto your pages.
*Please note: You can now shop all my digital products and planners on Etsy if that feel more familiar to you.
WATCH THIS POST IN THE VIDEO PLAYER BELOW:
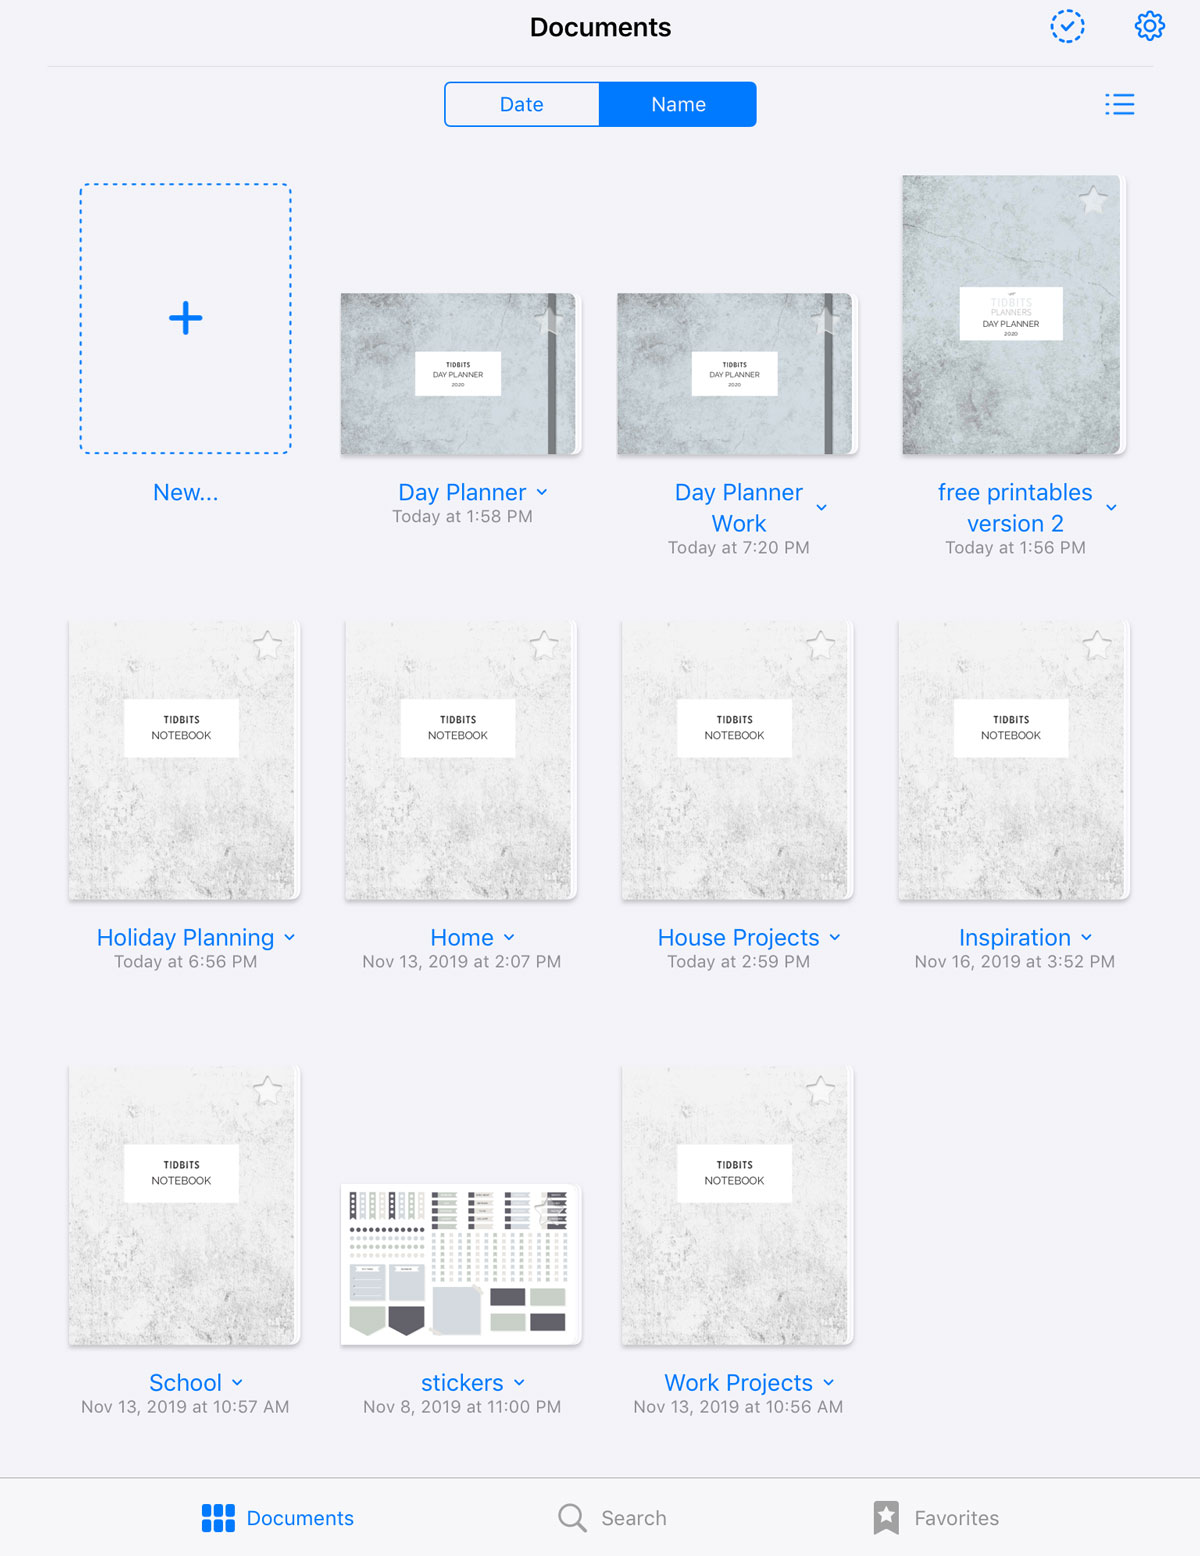
Import
First import your sticker sheet into the GoodNotes App the same way you imported your planner or notebook, whether that was directly from inside GoodNotes or from your stored file. It’s handy to keep the sticker tab open to switch to it quickly when needed. If you need help with this step, see my “How to Import digital Planners and Notebooks” post.
Copy/Paste Sticker
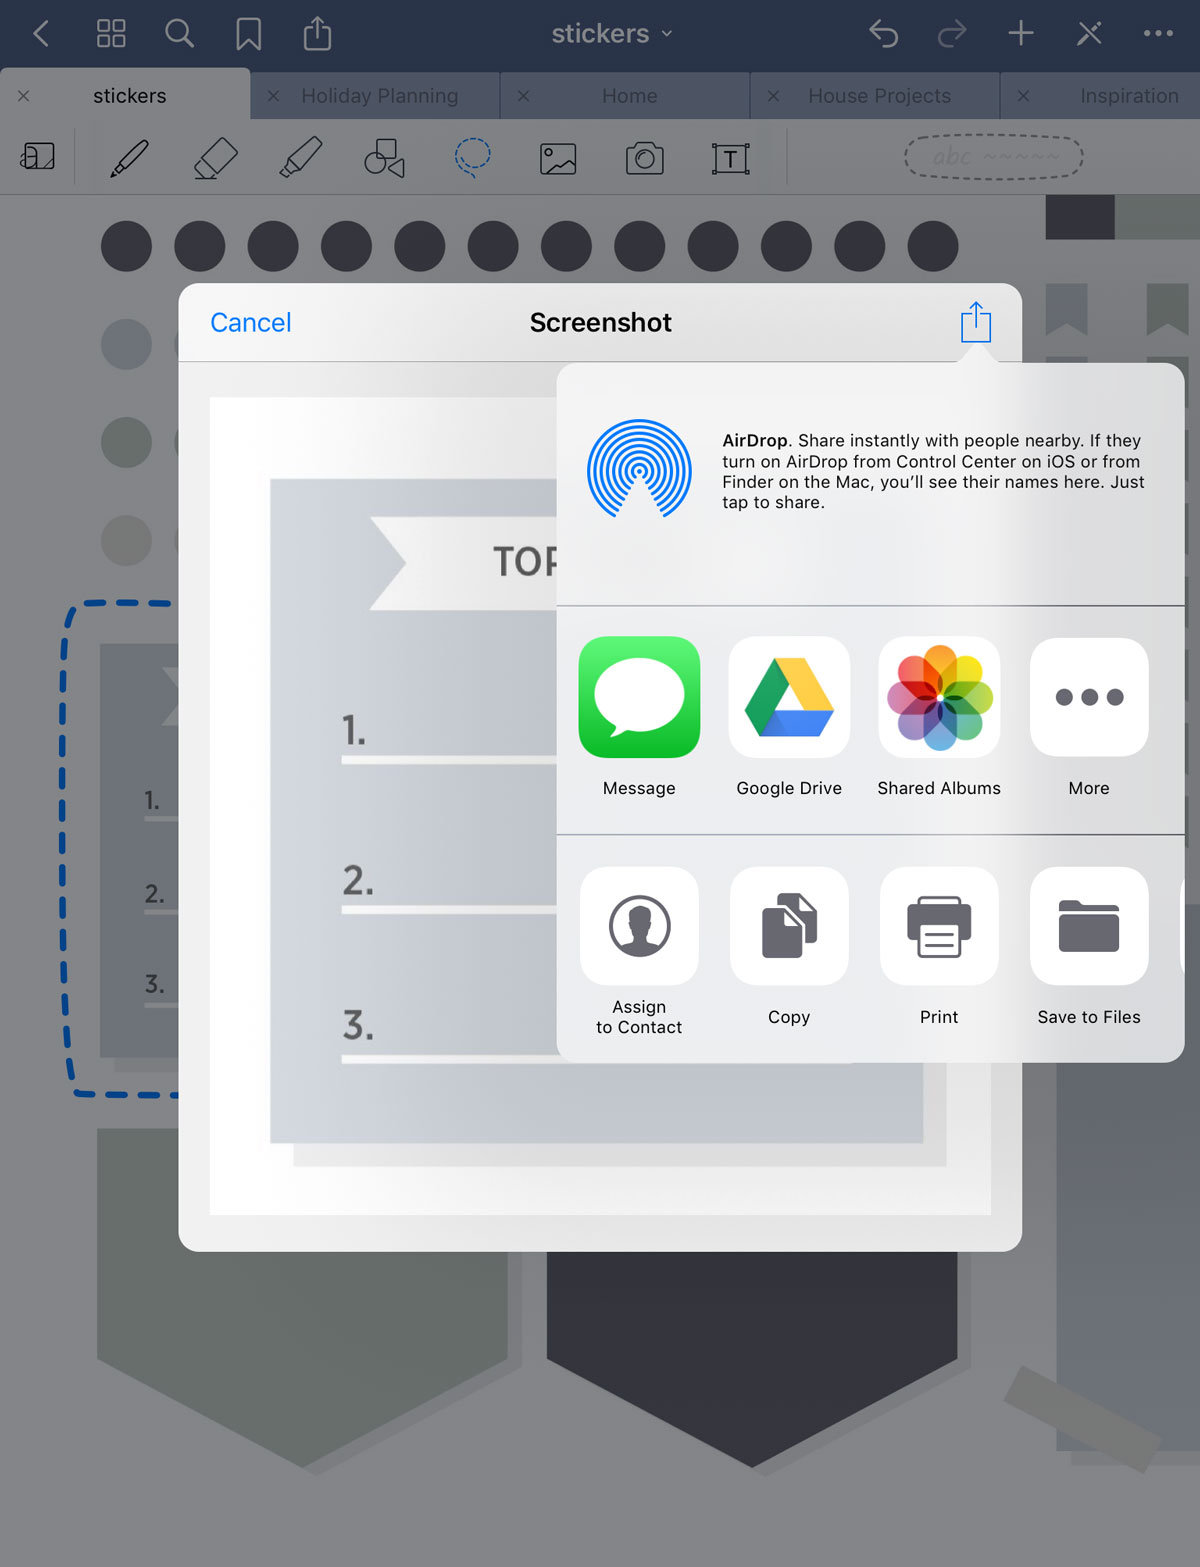
Zoom into the sticker you want, if necessary. Select the lasso tool and trace around the sticker you wish to copy. No need to be perfect here.
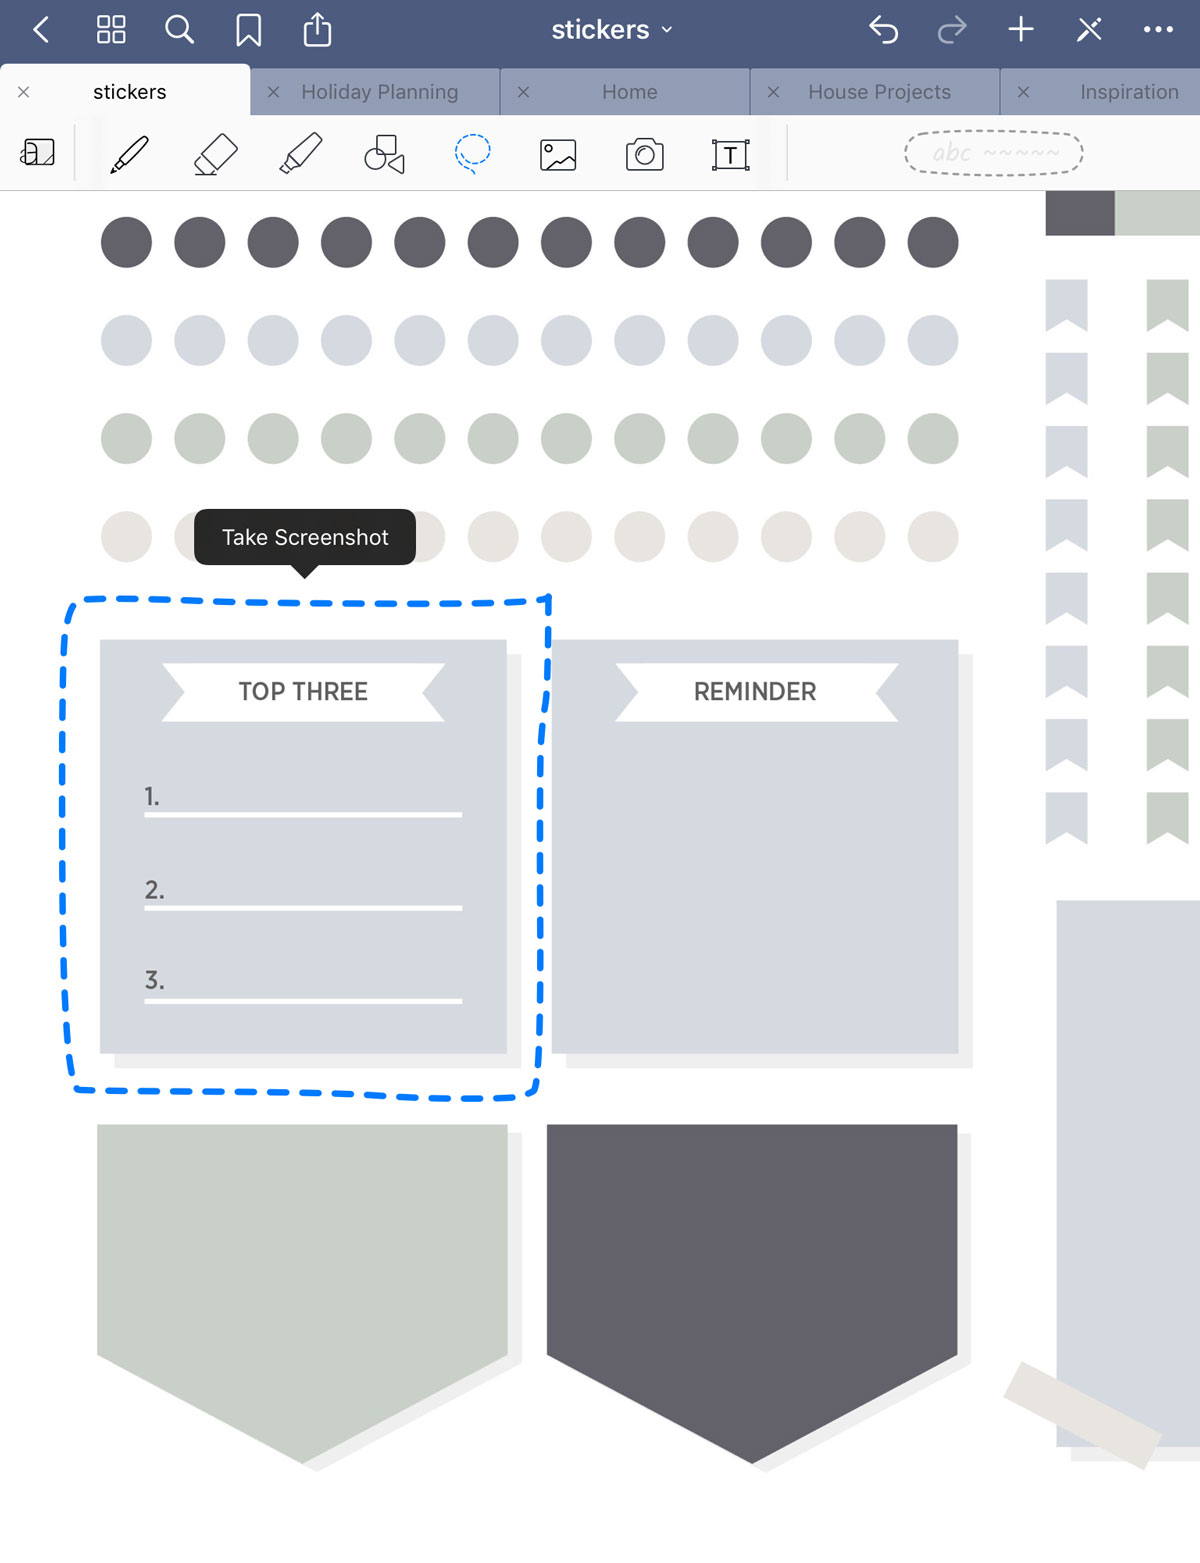
Once it is selected with the lasso tool, press and hold and you will see the option to take a screenshot. Once you do that you will be directed to save it somewhere or copy. Choose copy.
Navigate back to the page you wish to place your sticker. Press and hold until the option to paste comes up, and paste it onto your page.
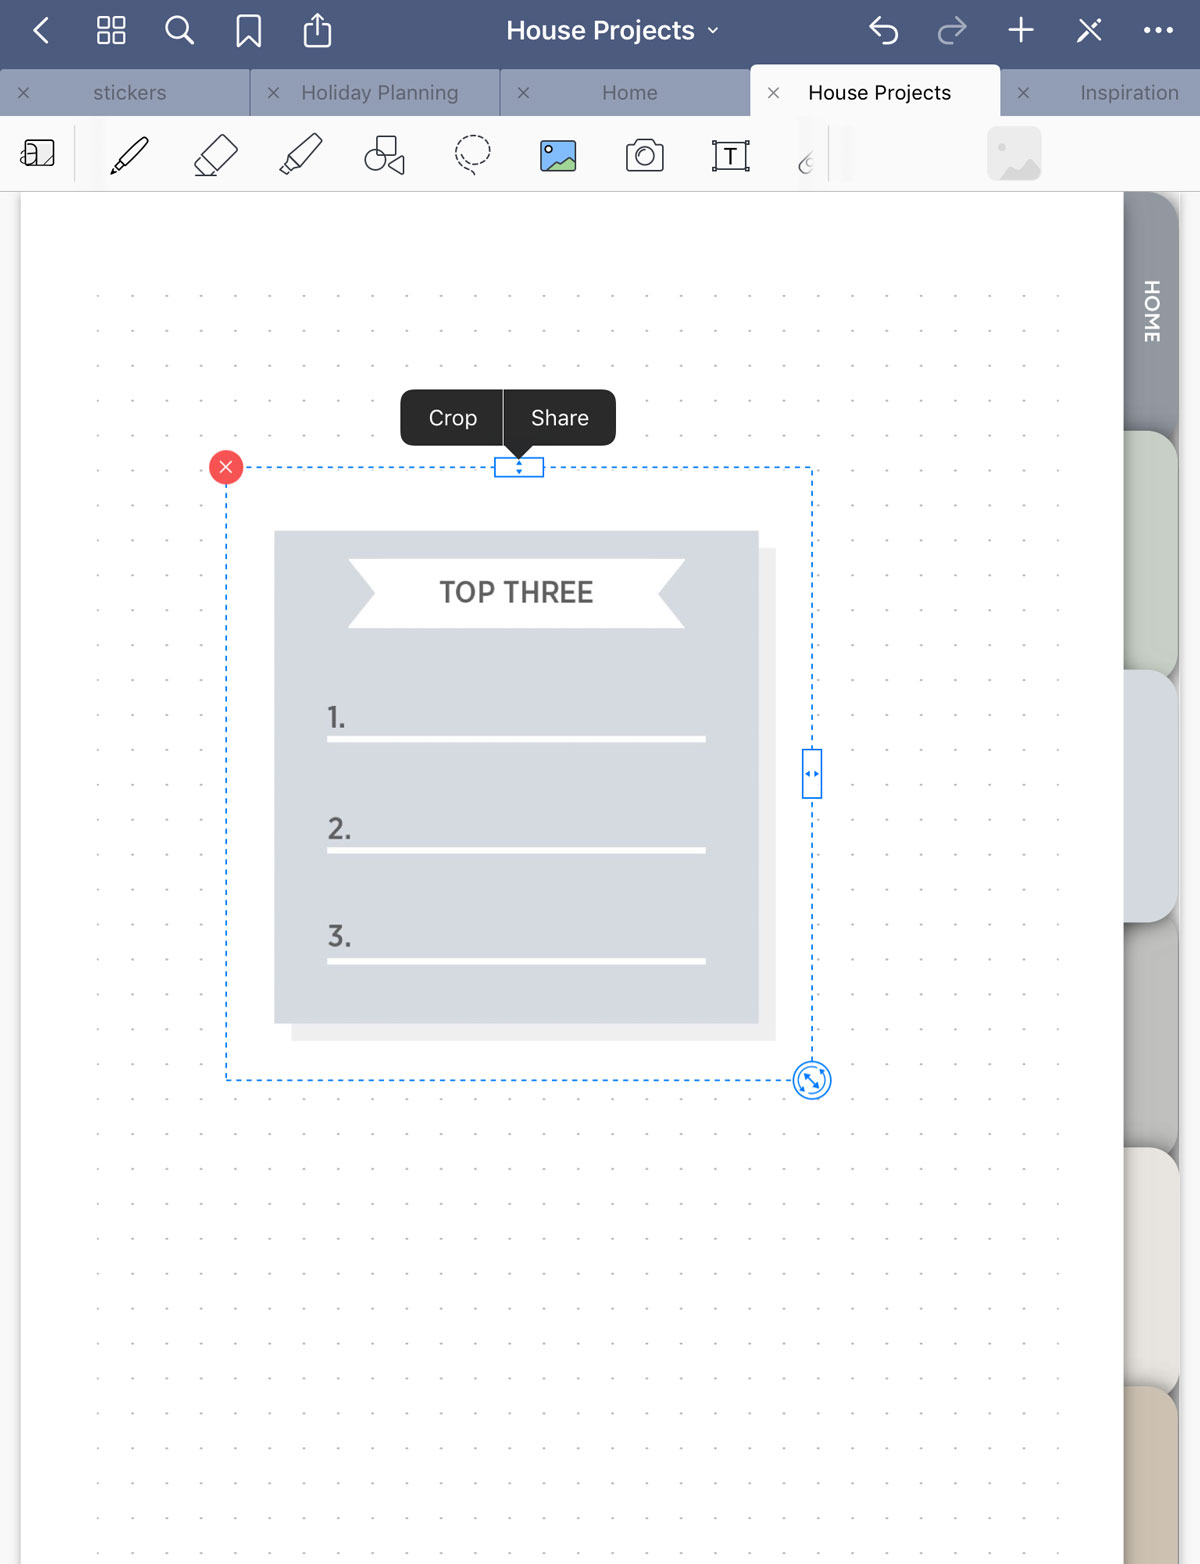
From here you can customize the sticker by cropping it, playing with the size and moving it into position.
You can add text into your sticker or play around however you wish.
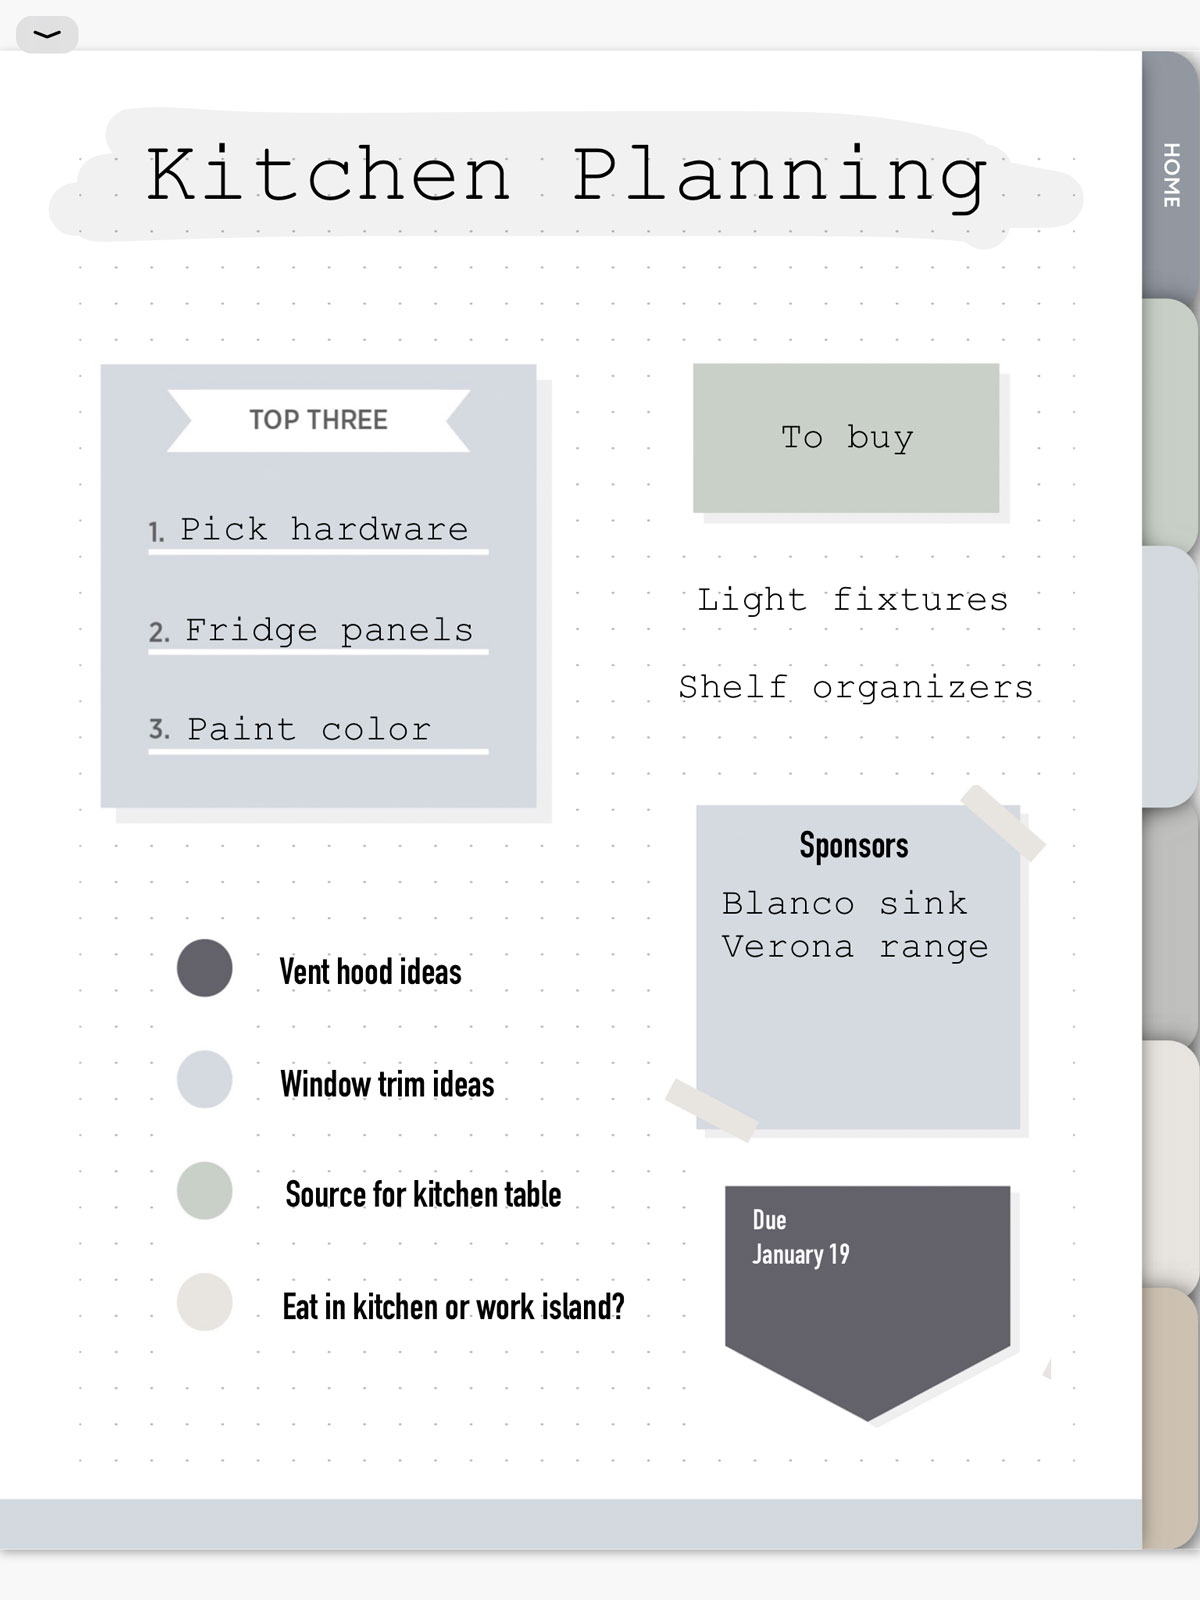
You can probably see how it could be fun and useful to add stickers onto your pages. Once you get the hang of it, you’ll be popping them on in no time. I’d love to see a page you create using the TIDBITS digital stickers. Show me on social by tagging @tidbitsplanners, leave a comment on this post or send me an email through the contact form on this site.
If you haven’t already grabbed you own TIDBITS digital planner or notebook with customizable stickers, head over to shop!
Enjoy!

Leave a Comment