To begin writing on your digital planners and notebooks, you need to understand that there are 2 main ways to do this – the writing tools and the typing tools. The GoodNotes App includes several tools that make customizing fun and easy.
WATCH THIS POST IN THE VIDEO PLAYER BELOW:
Typing
Your typing tool can be found in editing mode with the text box icon.
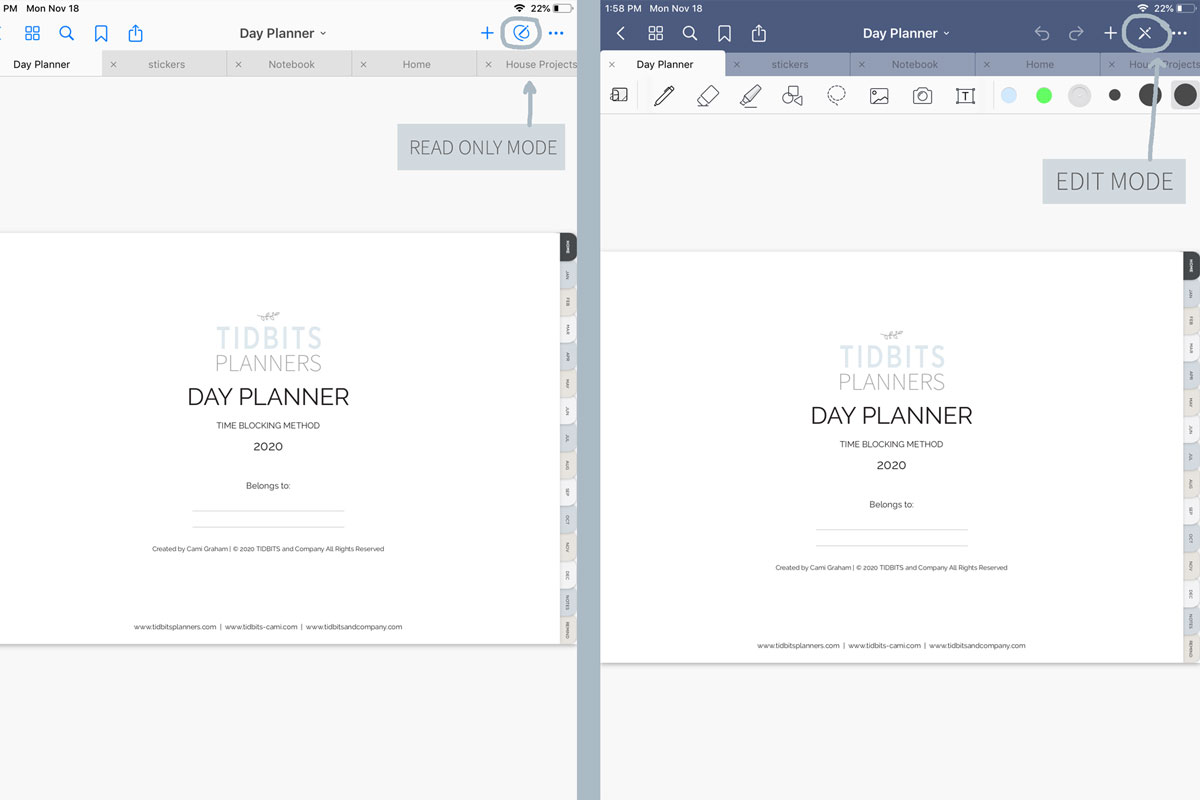
Once you select the text box, you will see options for text size, fonts, colors, and so on.
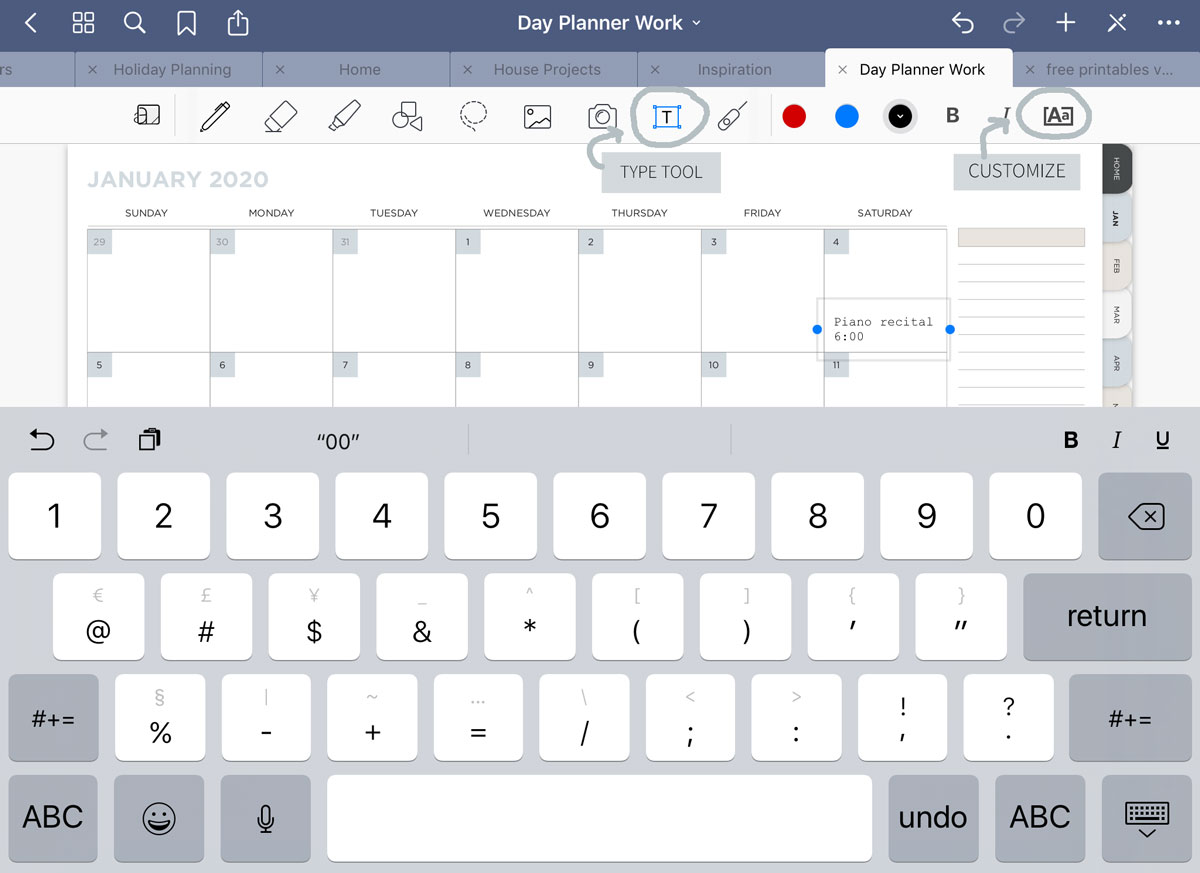
You can customize those selections, tap on the page and the cursor and keypad will come up then you can begin typing. When the text box is still selected, you can move the text around or expand and shrink the box.
Writing
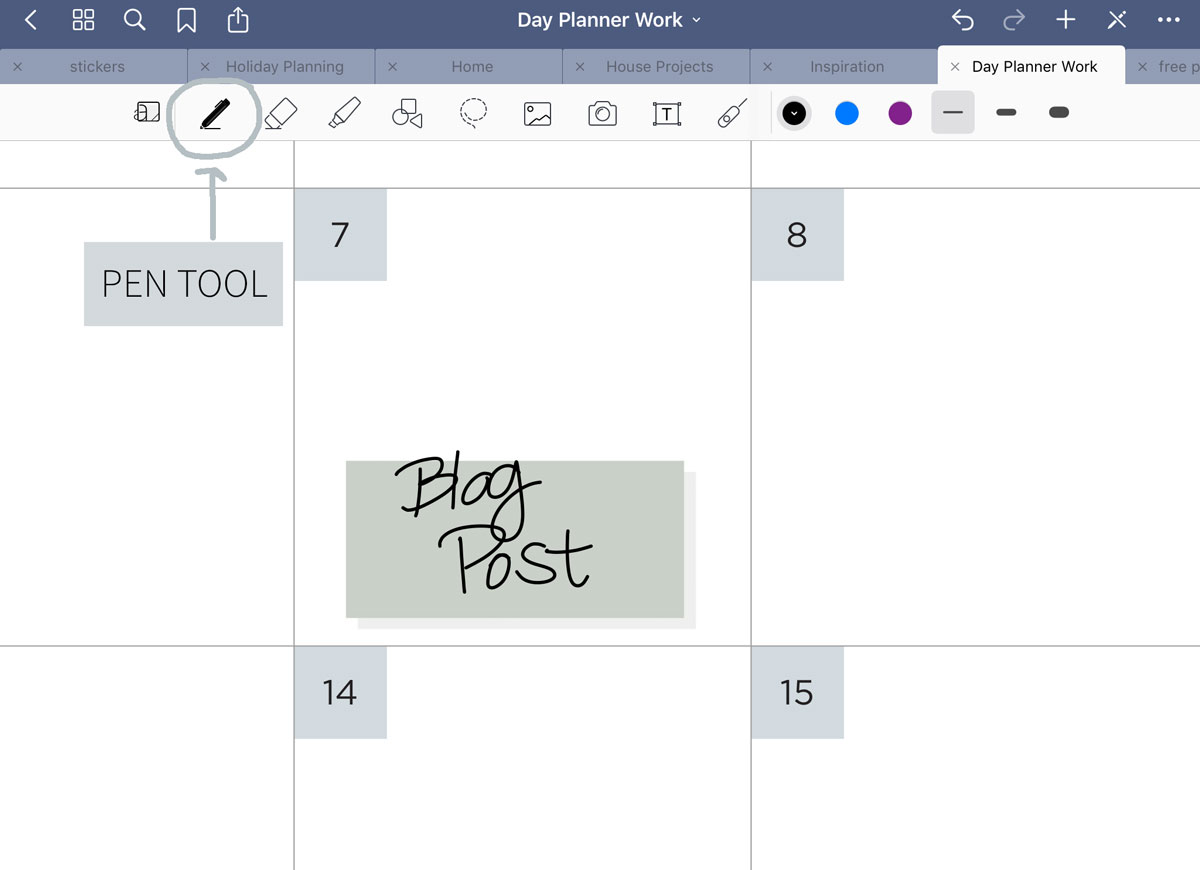
To hand write with your finger or smart pen, you select the brush pen tool. To change the type of pen, hold and then select. You can also play around with color and thickness when the tool is selected.
Customizing
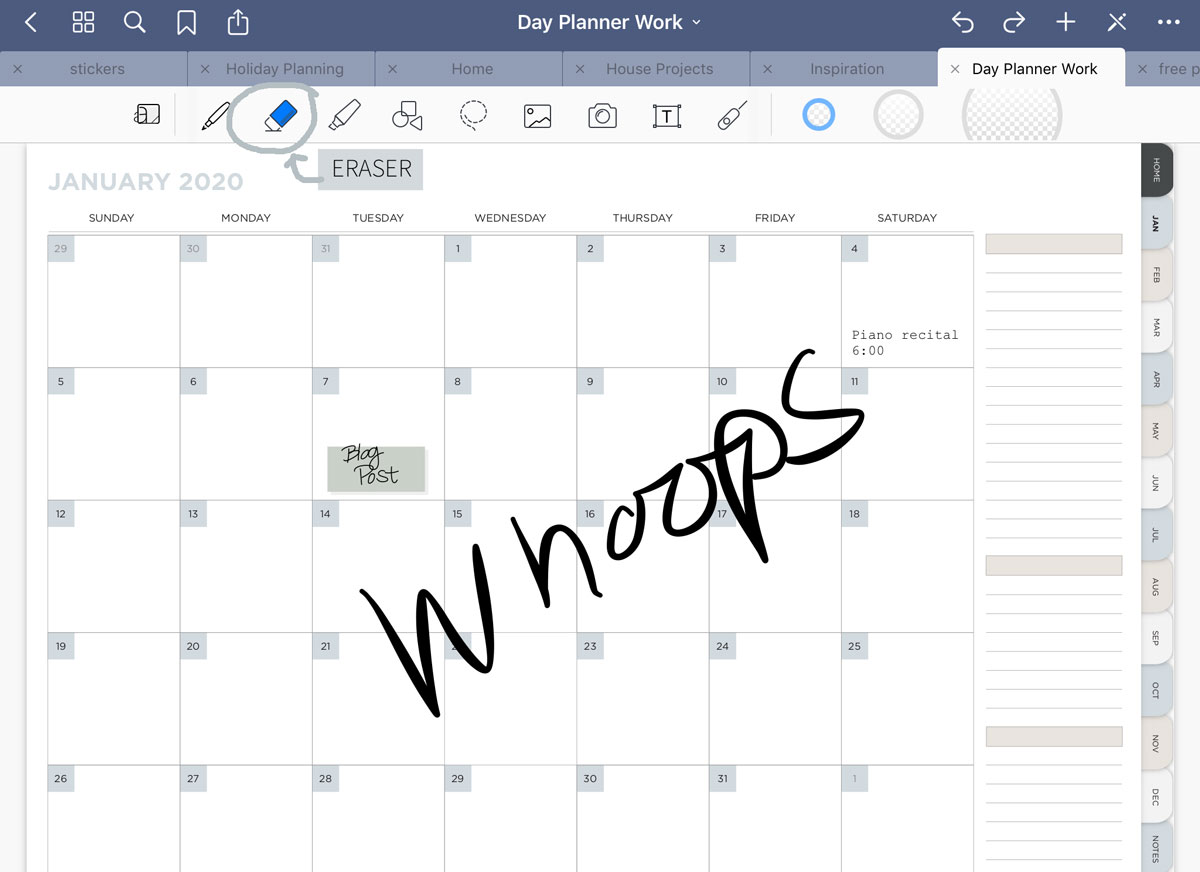
To fix mistakes or remove your text and images, use the eraser tool.
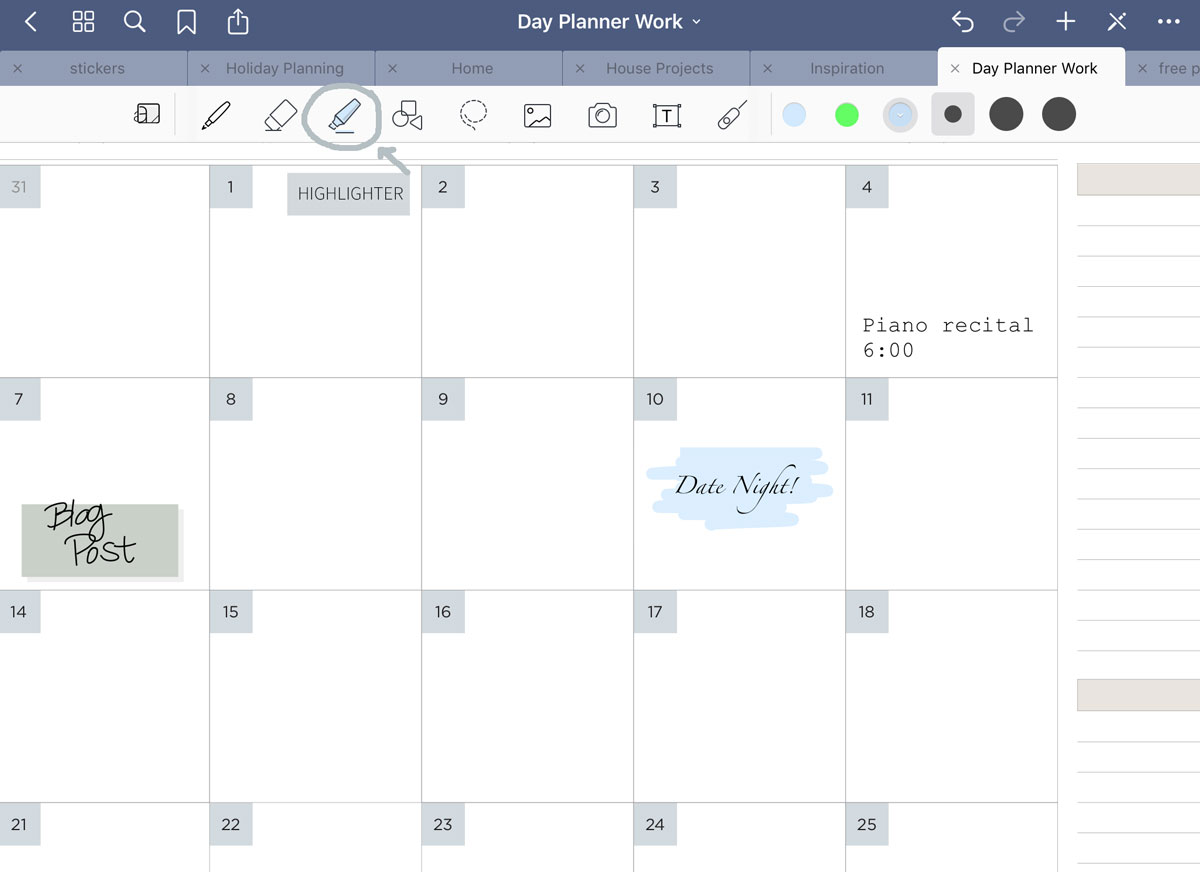
The highlighter is so fun to bring color and notice to your content. I love that it will automatically move behind the item/text you are highlighting.
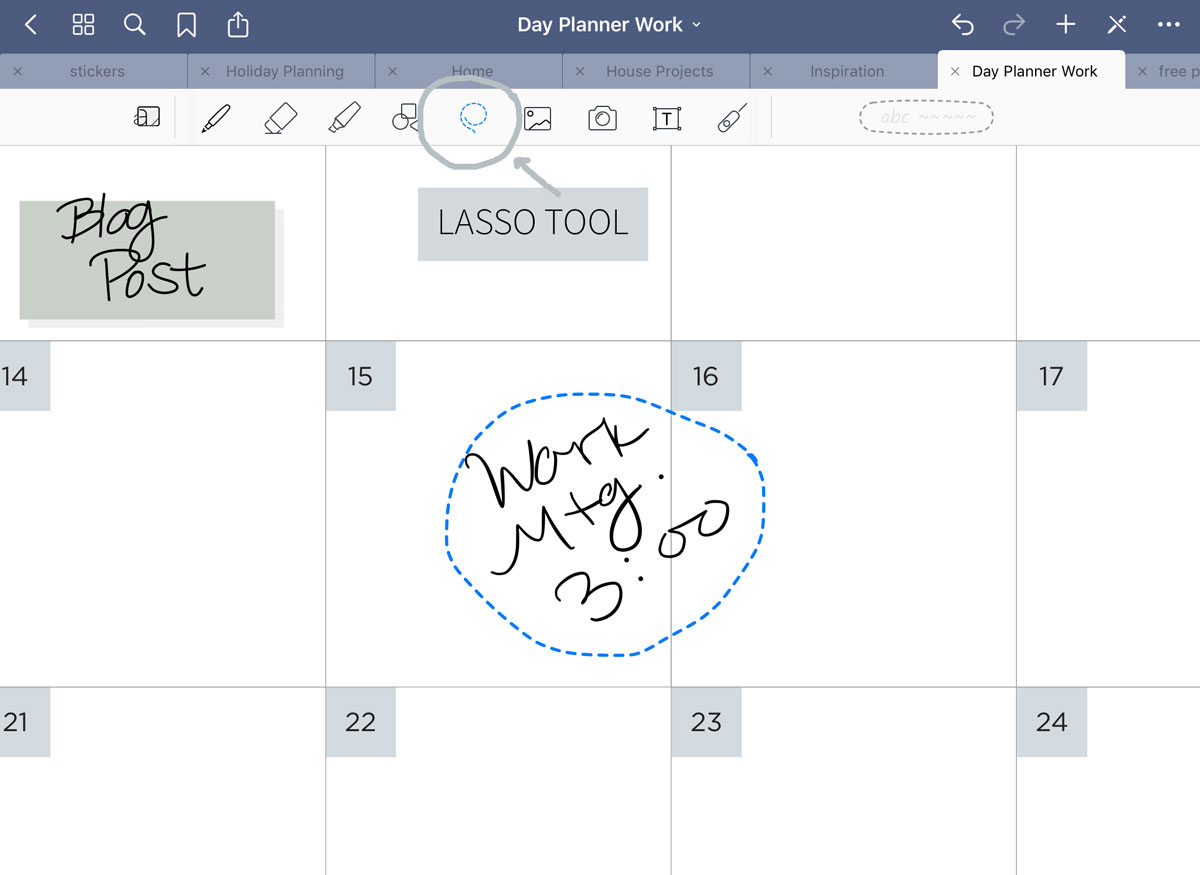
The lasso tool will help you easily select an area of edits and move them around the page.
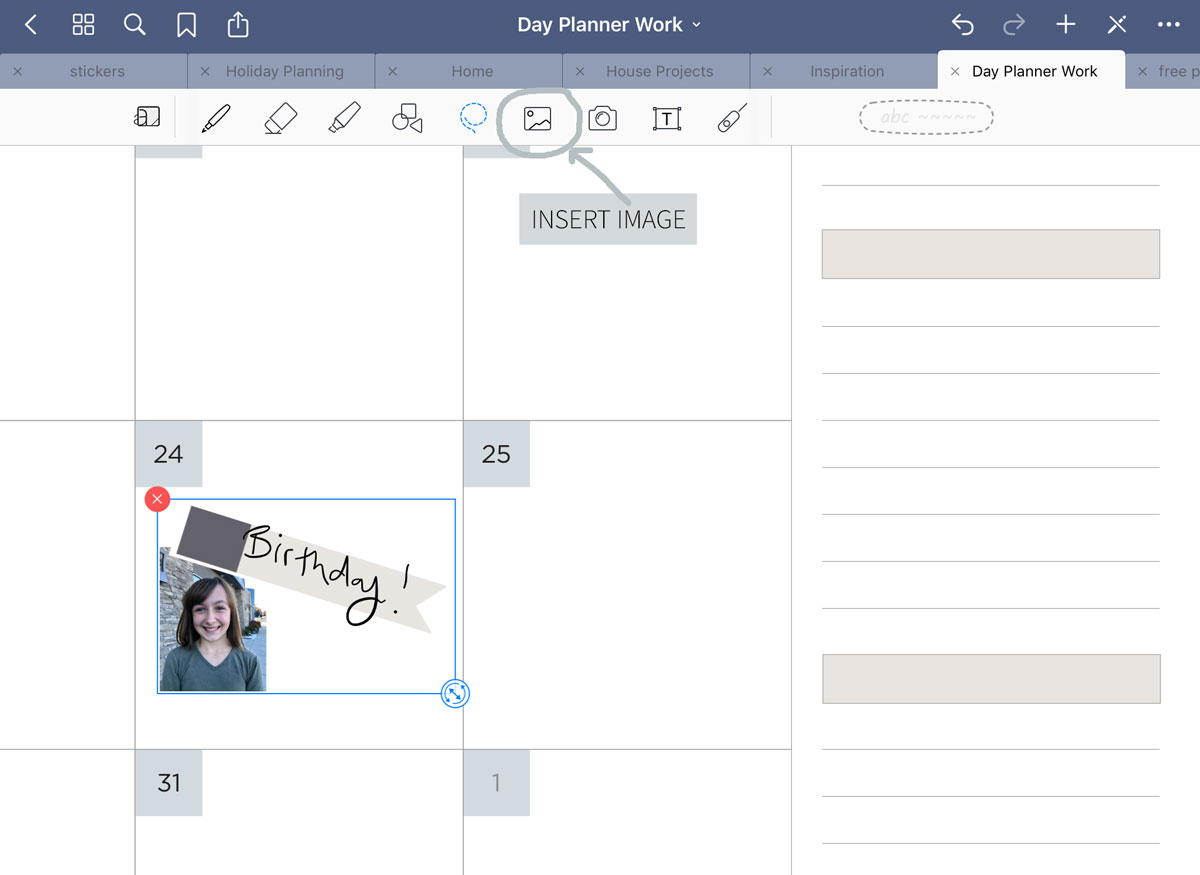
Then you have the image tools that are great for inserting pictures and graphics on your page.
I hope you’ll take the time to play around with the tools that help you write and type in your digital planners and notebooks. Ready to get your hands on your own digital products? Check out my shop!
You can also now shop all my products on Etsy!
They really are key to enjoying these products! Go ahead and share your creations with us on social media at @tidbitsplanners and let me know what you think in the comments below or through the contact form on my site.
Leave a Comment